Setting up
How to get MCP token
MCP uses its own token, separate from your Pinly sign-in. Generate one in the Atomatiq App Store:
https://www.apps.atomatiq.io/subscription?tab=integrations
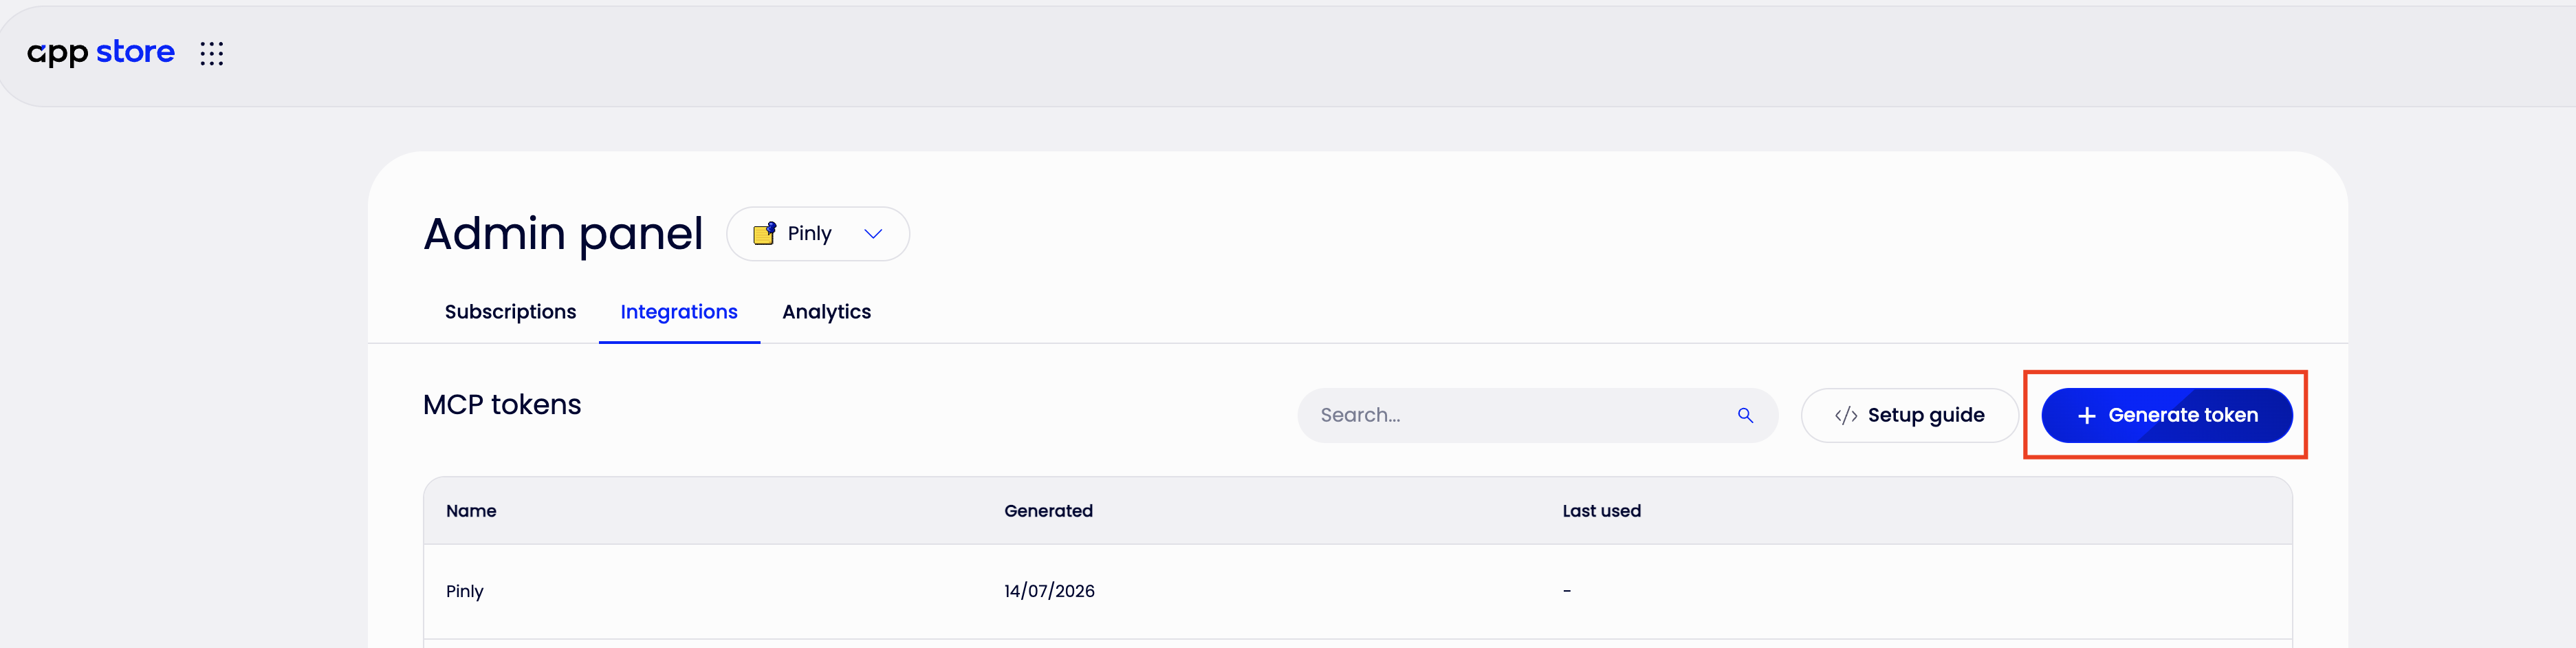
Treat the token like a password: anyone who has it can act as you. Never paste it into chats, shared files, or source control. If it leaks, revoke it in the App Store — it stops working immediately.
Add Pinly to your AI client
- The easy way — Add custom connector (recommended)
Most MCP clients let you add a connector straight from their settings, with no command line or config files.
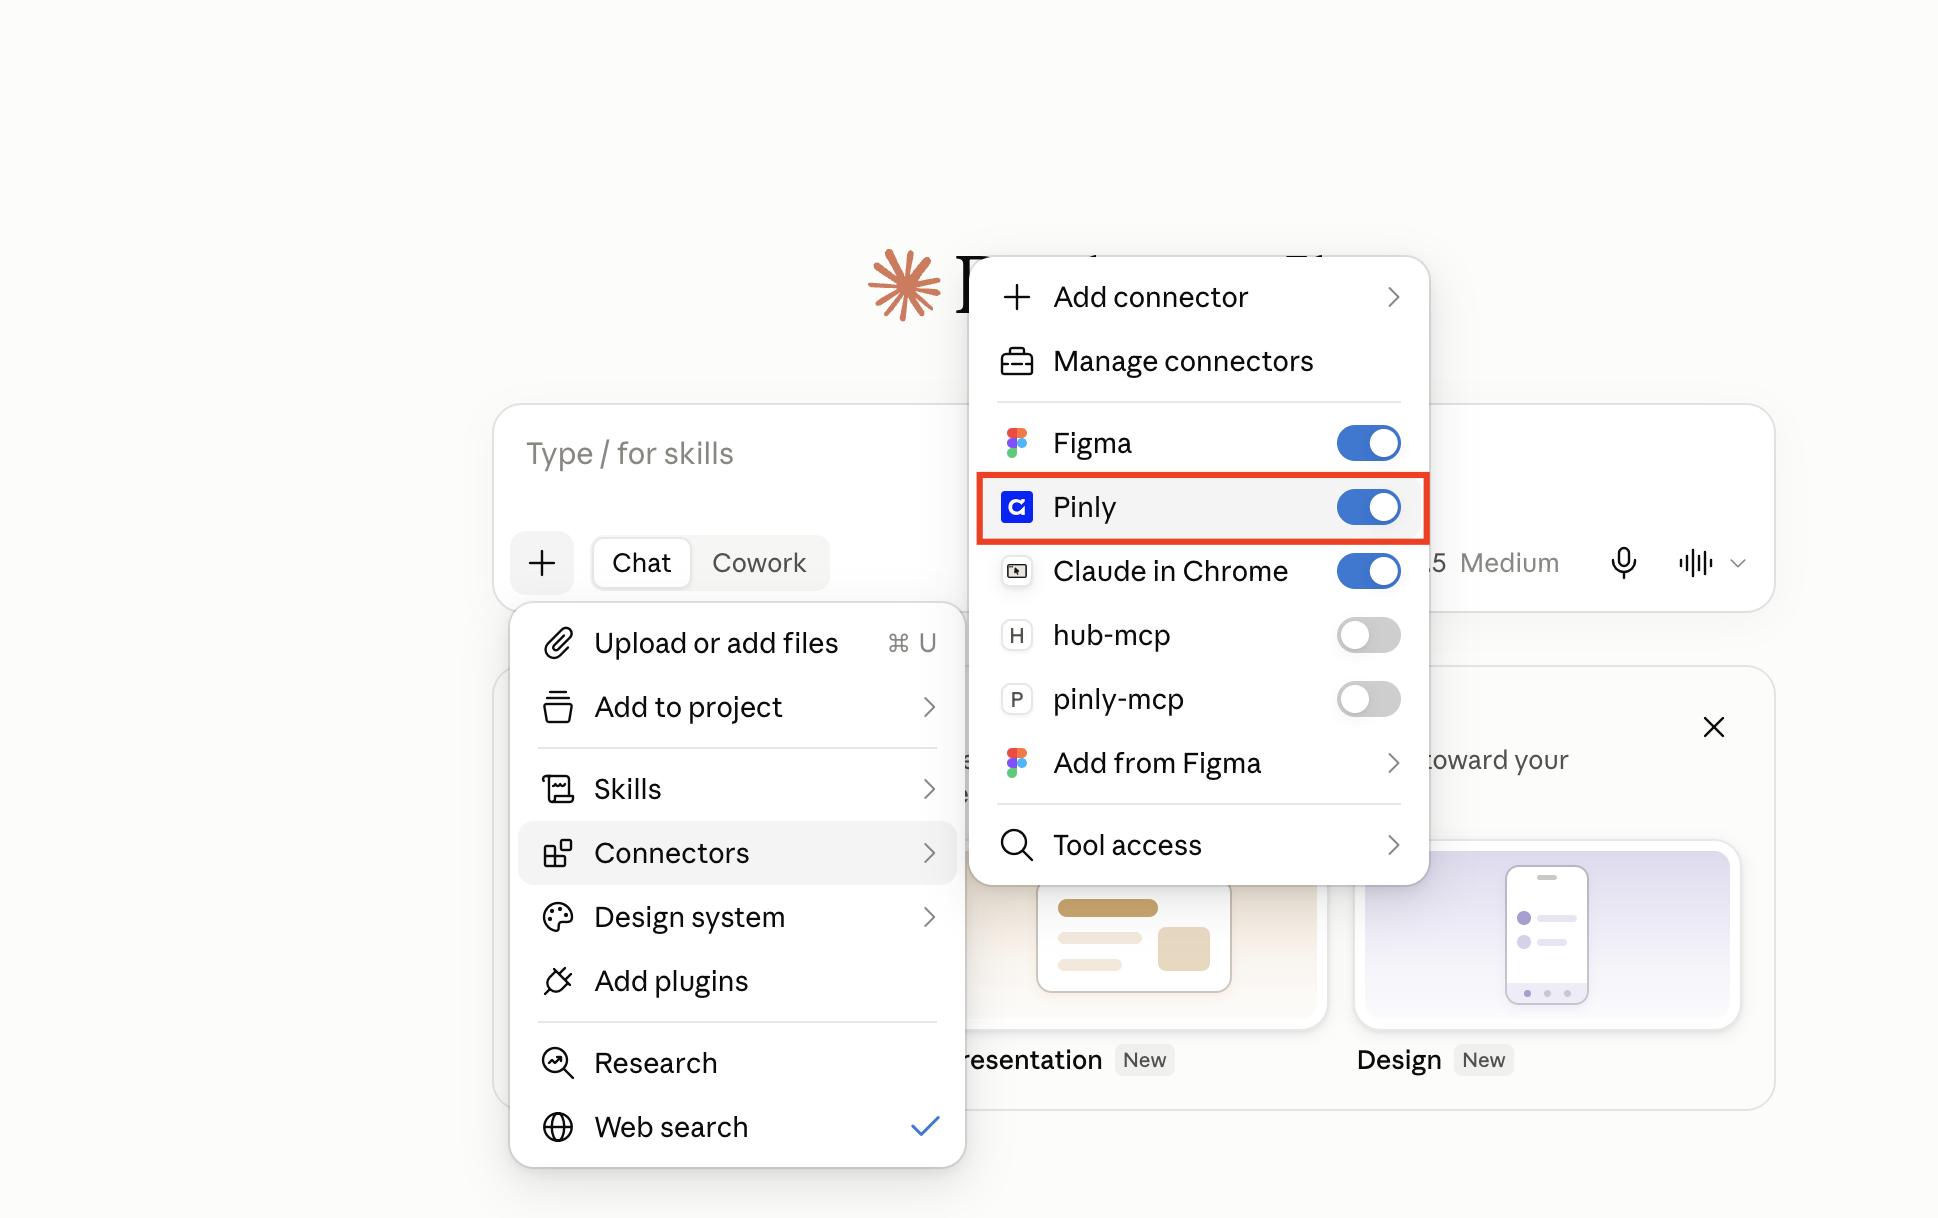
In Claude, open Settings → Connectors → Add custom connector and enter:
- Name: `Pinly`
- URL: `https://mcp-proxy.atomatiq.io/mcp`
- Authorization header:`Bearer <your token>`
Save, and Pinly appears in your connectors. Other MCP clients work the same way — look for "Add custom connector" or "Add remote MCP server" in their settings.
- The manual way — command line or config
If your client has no connector UI, add Pinly by hand. The client must support remote MCP over HTTP with a custom `Authorization` header.
Claude Code:
claude mcp add --transport http pinly https://mcp-proxy.atomatiq.io/mcp --header "Authorization: Bearer <your token>"
Cursor — add to `mcp.json`:
  {
      "mcpServers": {
        "pinly": {
          "url": "https://mcp-proxy.atomatiq.io/mcp",
          "headers": { "Authorization": "Bearer <your token>" }
        }
      }
    }
Validation
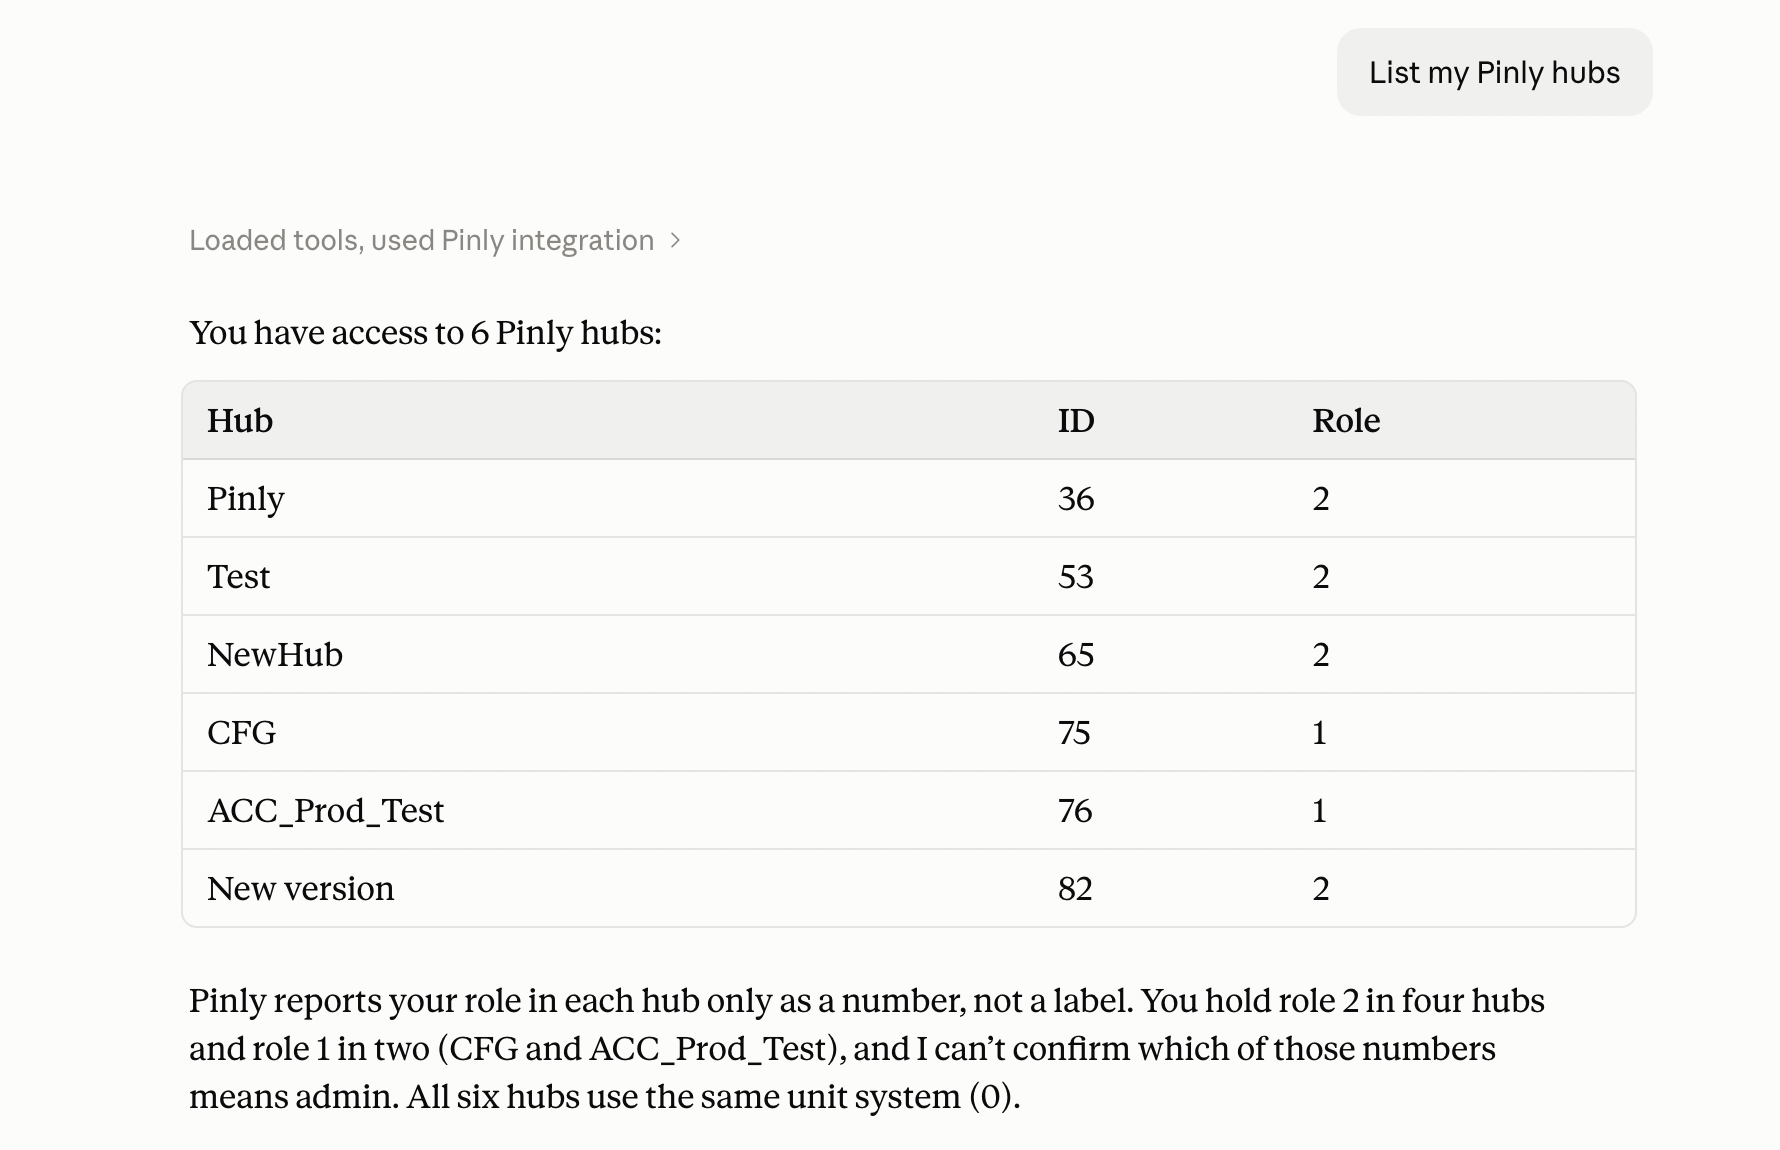
Ask the assistant "List my Pinly hubs and projects". If it returns your hubs, you're connected.